Tuesday, January 10, 2012

String Paper Lanterns

So I have realized that I do my projects big and when I say big I mean way to big. I am going to try to tone it down a bit so I can get some more done. Also when I do more then one it will count as more then one craft (if it took a long while to make). One more thing! I might include some food on here. Things that people usually don't make that are unique. :)

Crafts #8 Day #10

This one was great! Just some lamps I bought at IKEA for pretty cheap and I covered them in some twine. A really interesting way to take a plain item and turn it into something amazing.

Supplies and Cost
Paper Lantern $7 (I got two)
Scissors $3
Glue Gun $10
Twine $2

Getting everything new would cost you about $22 or $29 if you did two.


So this was so beyond easy its not even funny! All you do is take the end of your twine. Glue it to the bottom outside of your lamp.


Wrap your twine all around your lamp.


Cut the twine, Glue the end to the lamp, and go around the lamp gluing down any lose twine. 


Do it all over again and then you have two awesome lamps!

And now almost the same thing but a little different!


Supplies and Cost
Paper Lantern $9 ($3 more for a cord to make it a lamp)
Scissors $3
Glue Gun $10
Twine $2

Total cost $27 but if you already had the first two lamps and supplies it would only cost you $12 more to make this one. Which ends up being about $40 for all three if you bought everything new.


This one I did not take very good picture of and for that I am sorry but the concept of it is really easy to understand and follow. All I did was follow the natural seams on the lamp with twine. Putting hot glue along the whole seam and the twine on top of it.


Then follow the natural lines on the lamp randomly spacing the twine. Again I just put down hot glue and put the twine on top of it.


Last I trimmed off extra twine on the top and bottom of the lamp.


Which left me with a really beautiful lamp for my living room!


Tips:
Don't put the twine inside the lamp you don't want a fire hazard!
Hot glue is hot don't touch it. lol.

Questions, comments, tips? Please leave below. 


Saturday, January 7, 2012

Recycled Magazine Mirror

Craft #5 Day #7

This one took forever! I decided to cover up this huge mirror I have in my house that I thought needed to be cooler but the down side was I didn't realize how long this would actually take. I think on a smaller scale it would of been much nicer.


Supplies and Cost:
Old magazines (we all have tons laying around the house)
Glue Gun $10
Scissors $3 
Glue stick $1
Mirror (or something to cover) $5-ish

If you have to buy everything new you would spend about $20 but using items at home the cost is almost $0


First you need to rip out TONS of pages from a magazine. To cover my giant mirror I used 3 thick magazines. You then take the magazine page and roll it (I rolled it around a pen to make it a little easier on myself.) Once you get to the end apply some glue stick glue and roll it all up!


You need to make TONS of these magazine tubes.


After I felt like I had enough tubes (which I didn't) I cut them down to a short size for the center of the mirror applied hot glue. and put the short tubes in the hot glue 'standing' up.


You do that until the whole inside of the mirror is covered like this.


Now you do pretty much the same thing to the face of the mirror but with the tubes 'laying' down. Get the tubes to the length you desire. I just cut mine in half to be super easy on myself. You apply glue to the frame of the mirror and lay the tubes down. and do it over and over and over again.


Do that for the entire face of the mirror and it should look something like this.


Then you are going to do the same thing to the very outside of the mirror. Get the tubes to the length you desire. Apply hot glue to the outside frame of the mirror and lay the tubes down. and do it over and over and over again.

And then you should be done! and it will look something like this.


Time: The time to do this mirror was around 8hrs. It took way to long and I think if I knew how long it was going to take I would of done it on a smaller mirror. But the end result looks amazing.

Learn from my mistakes/errors
1. Hot glue is HOT! Don't touch it. I burned myself a few times but I am OK. :)
2. My advice is do a smaller mirror or frame then because It took forever to make this.

If you have any questions comments or tips feel free to leave them below.

Mod Podge candle holders

Craft #4 Day #7

This is a very simple craft so easy to do and you can do it in no time at all. You can customize them however you want for any occasion or for any person. Everyone needs candles in their house so you should have nice custom holders that fit your personality.


Supplies and Cost:
Modge Podge $5
Candle holders (or glass jars) got mine for $2 for a pack of 4 at IKEA
Scissors $3
Paint or sponge brush $1
Pictures from a book, magazine, or printed from computer. You could also use tissue paper, comic book or anything else that is paper and laying around your house.
At most this should cost you $11 but you can make TONS with how much mod Podge you get.


So all I did was google search the image I wanted to put on the jar. I looked up lobsters because a good friend of mine loves them and I was making them for her. I think Ill make some for myself later and do pages from a dictionary.  So I copied and pasted and printed the images out. 


I then cut everything out. 


Applied Mod Podge to the jar.


Put the picture on top of the Mod Podge and put more Mod Podge over the picture.


Do that to all the jars and apply a few coats on and let dry. Once they are dry you have a great custom gift for anyone.


Time: The time of this project is almost none at all I would say depending on how much of the jar you were going to cover it would take between 5-15mins.

Tip: if you plan on putting candles in the jar DO NOT mod podge on the inside of the jar it would be a safety hazard in anyone home.

If you have any questions comments or tips please leave them below.

Tuesday, January 3, 2012

Spray Painted Vases

Crafts #3 Days #3

I love how these turned out so bright and colorful. I have always wanted to do this so I am so glad I did. It was also a lot easier then I thought it would be the only hard part was waiting for things to dry. My living room is much brighter now and I cant wait to add other items that match.  


Supplies and cost:

Glass vases (you could even use glass jars) $0.99 each at Goodwill
Spray Paint $3 and up
Clear Finish $4 and up
Wood Beads $3 150pack
Twine $2
Scissors $3
Wire Cutter $5
News paper
Fake Flowers (or sticks from outside) $6
I made seven of them with two colors of spray paint so the cost would be about $35 if you were buying all new items. But if you reused jars only got one color of paint and collected neat sticks from outside you could easily cut the cost down to $15 or less.


First thing I did was take off the stickers from goodwill a really easy way to do this is to heat up the sticker with a blow dryer for a few seconds and it will peel right off. Leaving almost no stickiness behind. Then I washed and dried all of them.


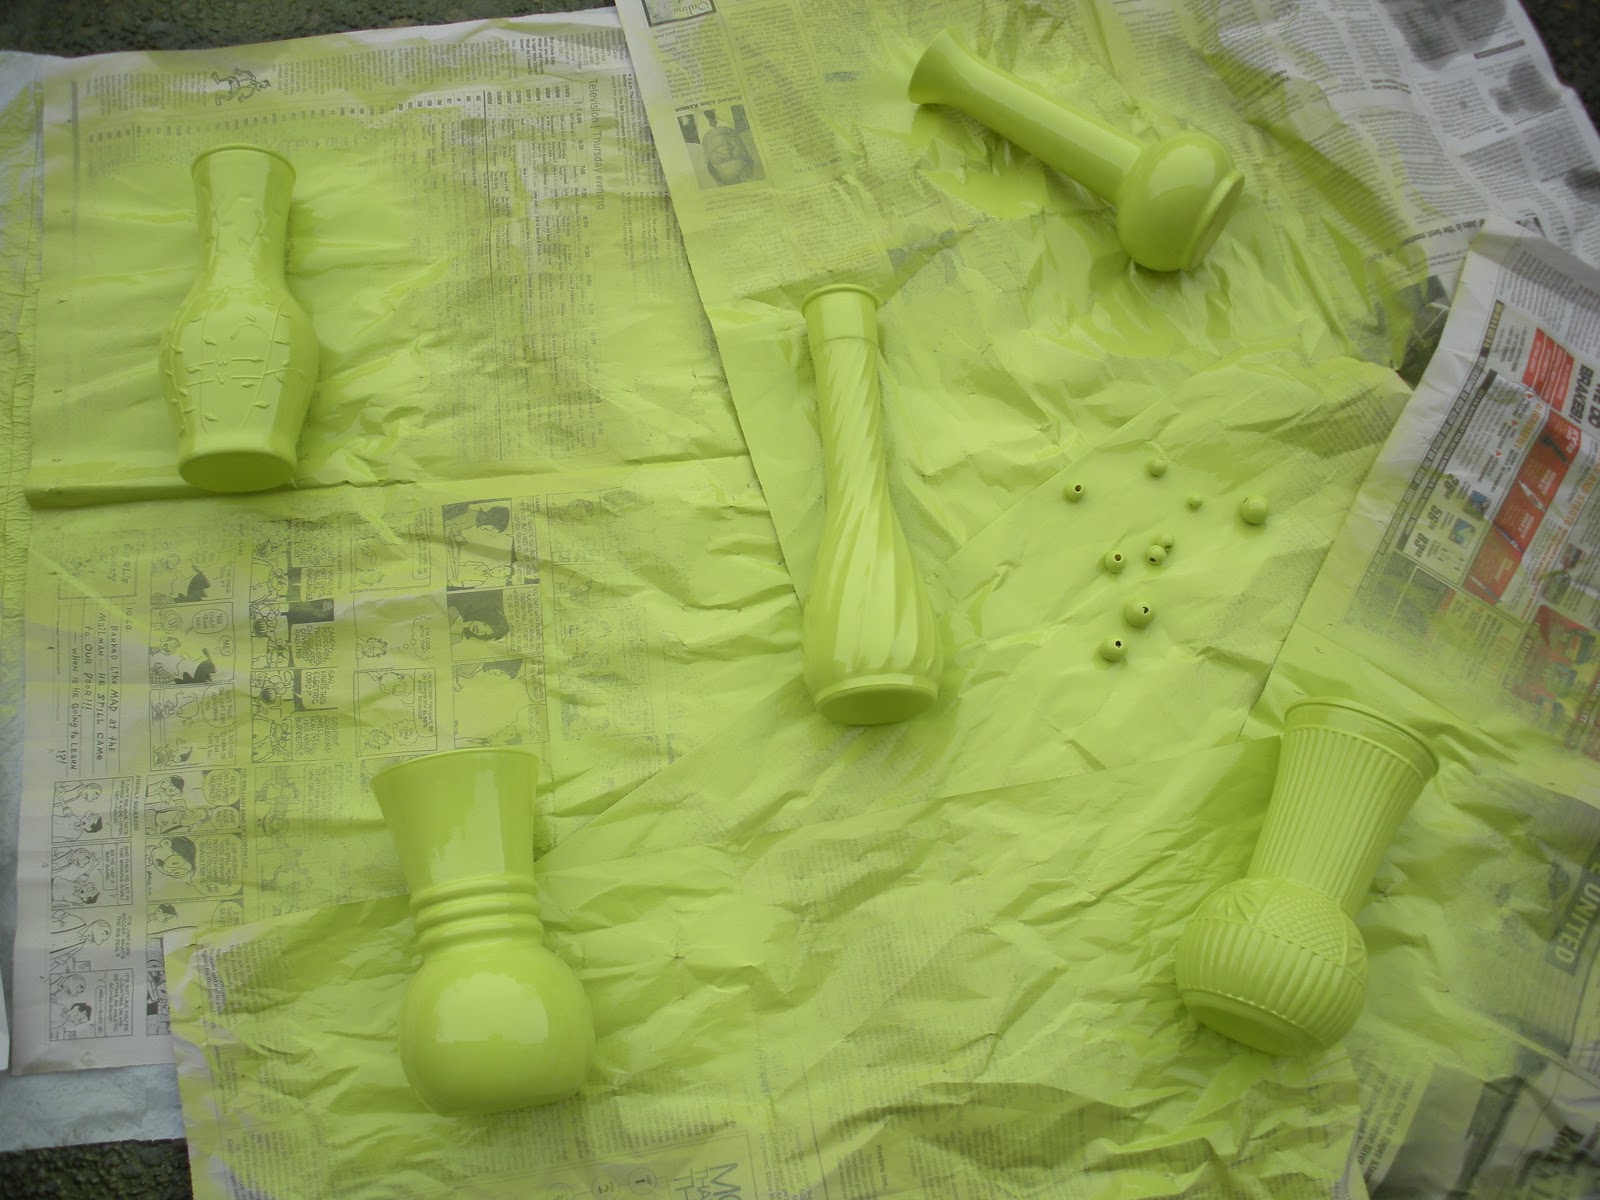
Set up a good spot outside away from anything you don't want to get paint on (house, car, patio, ect). Its important to use spray paint outside. Its fumes are nasty and paint gets everywhere. So make sure you are also wearing clothing that you don't mind getting paint on and if you don't want paint on your hands wear gloves.


This part will be different depending on the spray paint you use so read the directions on your spray paint and do as it tells you! But it should go something like this. Spray a layer of spray paint on each vase mine was quick dry so I let it dry for about 15mins and then I sprayed another layer on. and let it dry.


Once the first side was layered twice I let it dry flipped it over and did two layers on the other side for each color vases and beads. and let it dry.


Once second layer was dry on both sides I flipped it up and spayed any parts that got missed. And let it dry.


Once dry I collected up all the vases and spayed a clear coat on them let it sit for about 5mins (again follow directions on your can) and added another coat. Then the hardest part was letting it dry for about 3hrs.


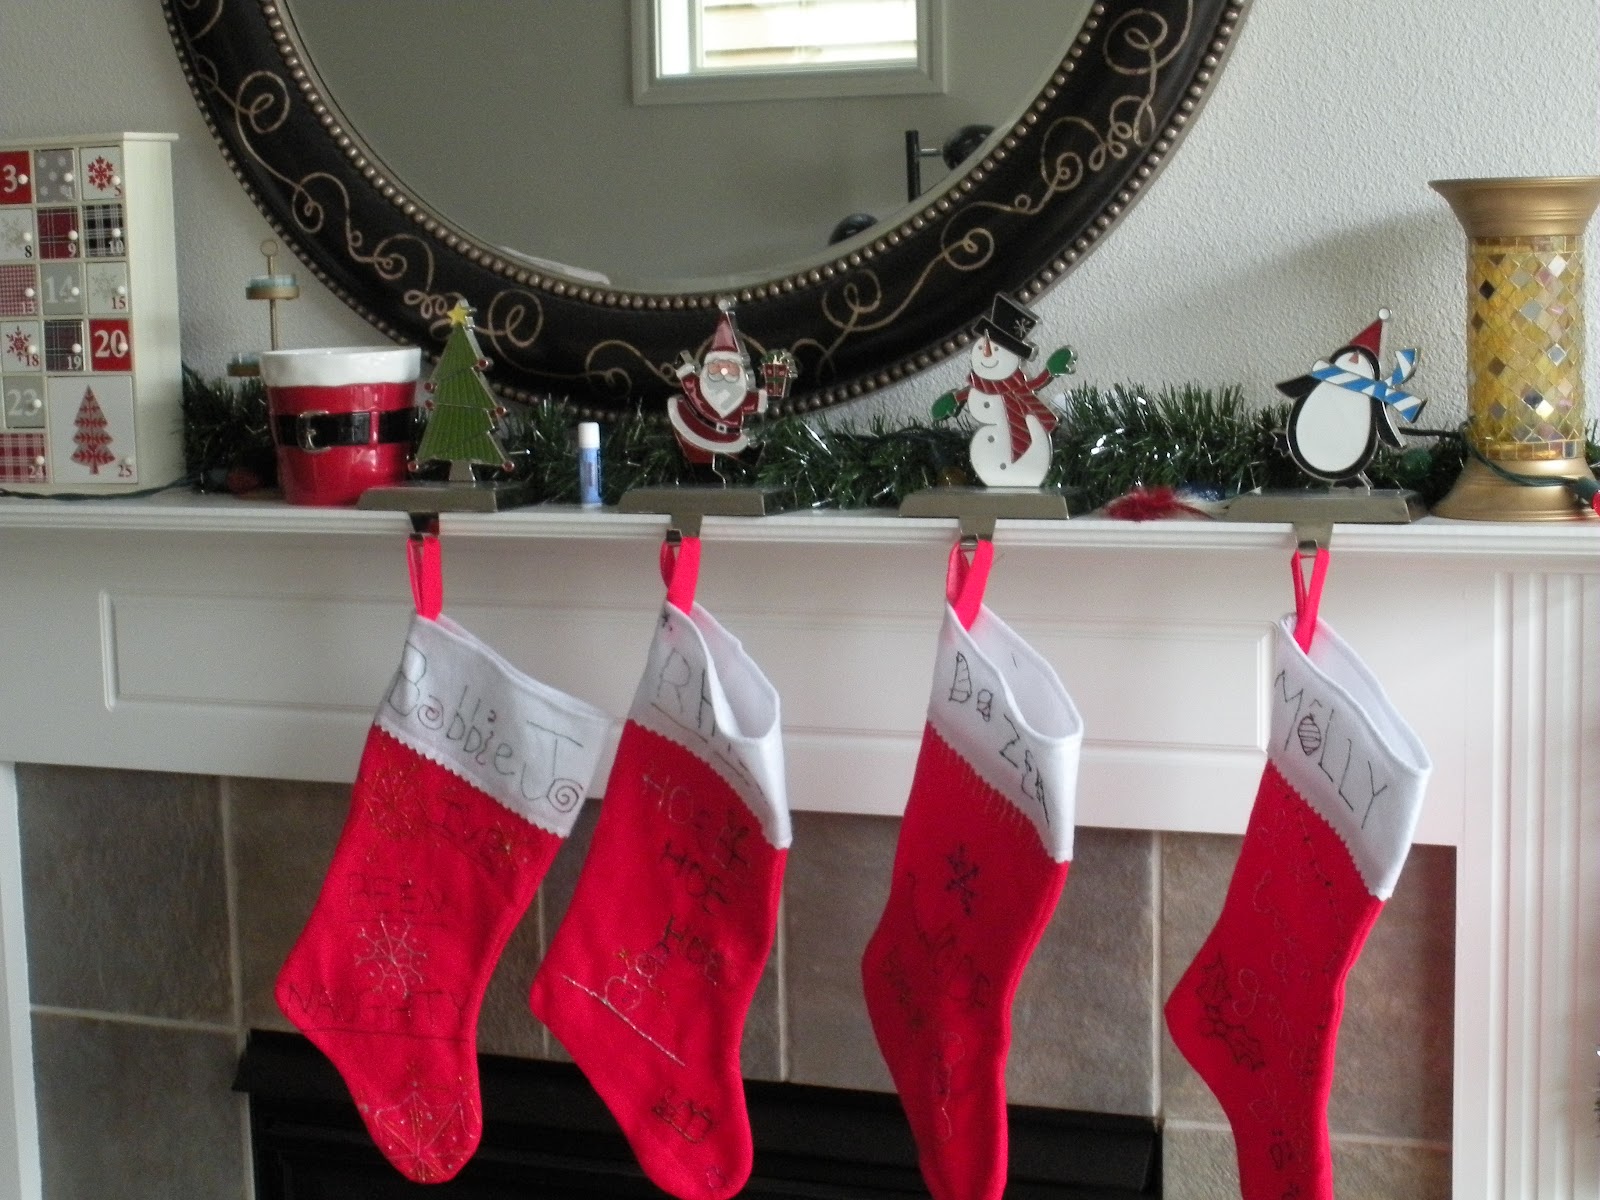
 While its drying you can clear your fireplace mantel of any Christmas items. :)


Once Dried its time to bring them inside and decorate them! I used twine and beads to decorate mine. I gave each one a slightly different look. I didn't take really any pictures of the process cus it was hard to do and take pictures at the same time.


They look great when you are done and you will have hand made one of a kind items by you! Put them on your mantel shelf or anywhere else to enjoy.


Time: The actual time to make it is not long I would say about 2hrs. But when you put in all the wait time for drying its a all day project.

Learn from my mistakes/errors
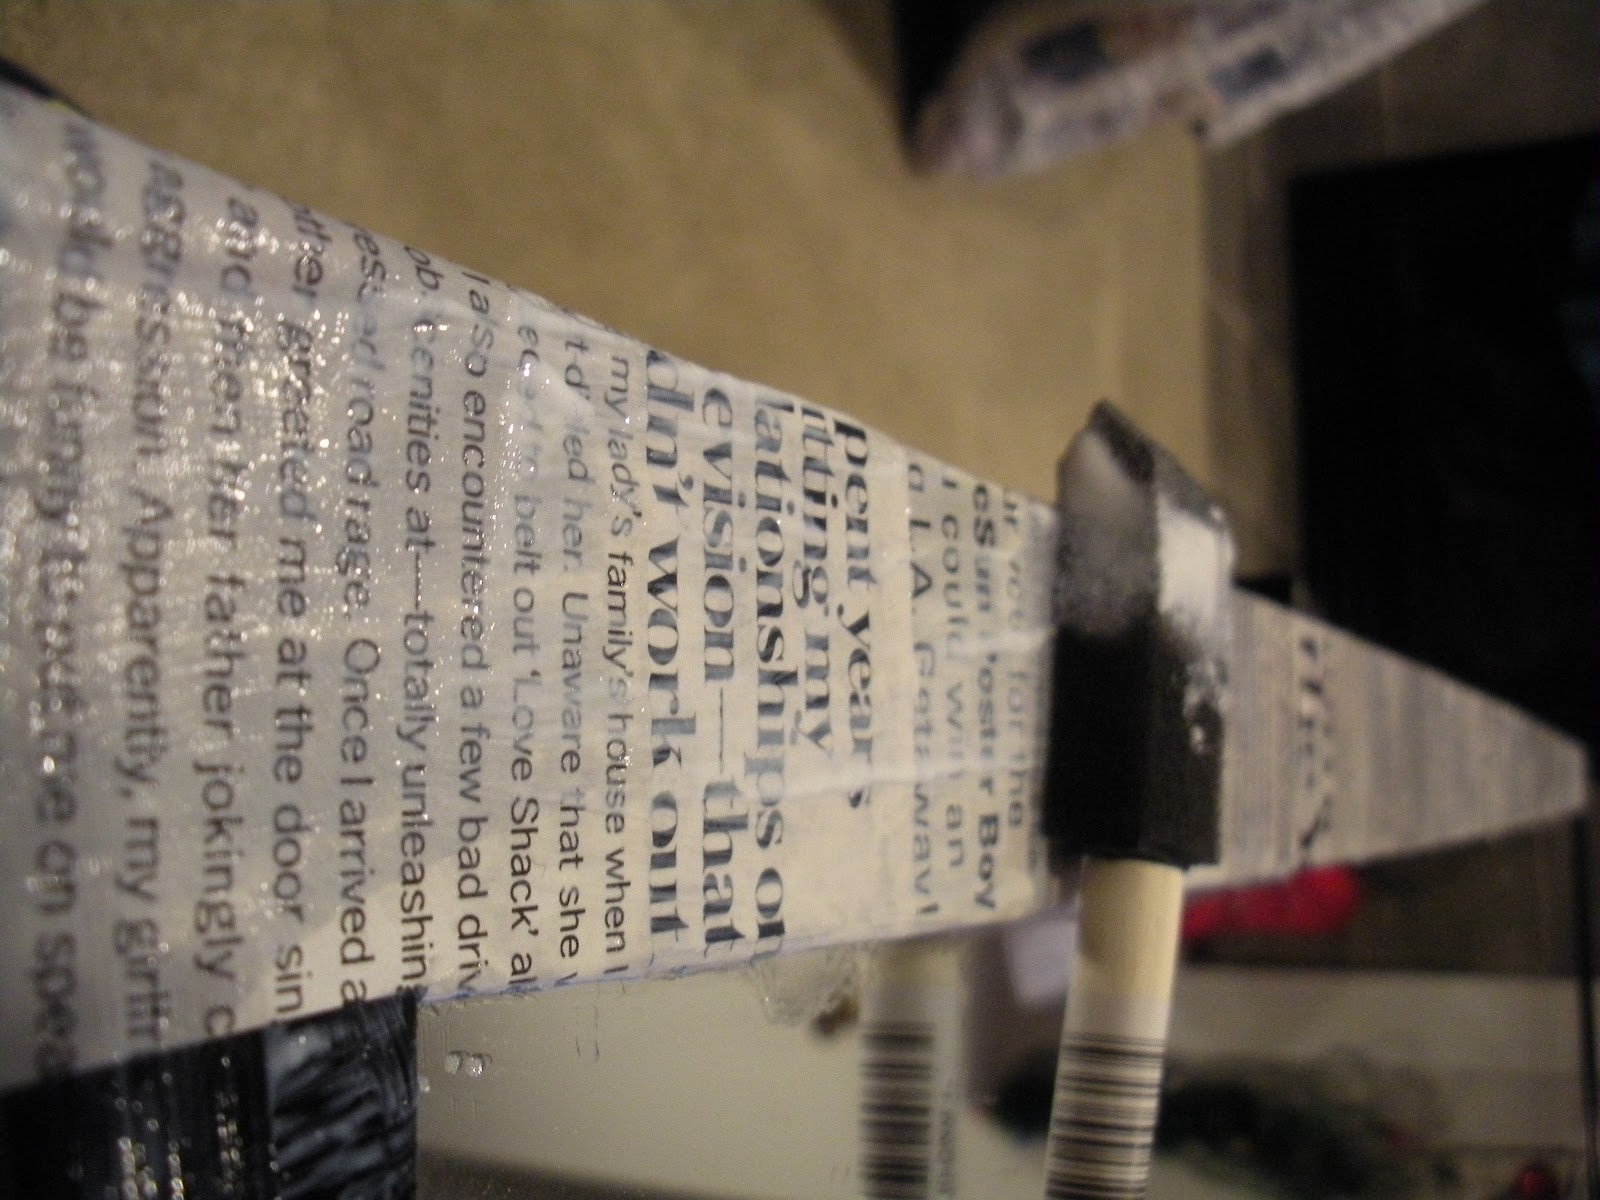
1. When you think you have enough paper down to protect the ground from spray paint you prob don't. There is no harm in using to much. But when you don't use enough you have to figure out how to get the spray paint off of cement.
2. Buy twine that is the right size for your beads I bought the extra thick kind cus I liked the way it looked. I had to separate it to make it the right size.
3. Wear gloves if you don't want paint on your hands its that simple.

If you have any questions comments or tips feel free to leave them below.


Modge Podge Magazine Mirror

Craft #1 Day #3

I LOVE modge podge its one of the best crafting things ever! You can take almost anything and cover it with pretty pictures and modge podge. In this instance I did a mirror that I have had in my room really boring plain black mirror and I covered it with various text from Cosmo magazines.

Supplies and Cost:
Modge Podge $5
Mirror (Or something to cover) $10
Painters Tape $3
Scissors  $3
Paint or Sponge Brush $1
Old magazines (comic books, book pages, tissue paper, ect)
Cost total: $22 if using items already around the house you prob will spend less then $10


So first I took my lovely magazine that I just have sitting around my house and I cut them all up. I paid no attention to what the words said I was just going for look. I was trying to find various font and letter sizes all in black and white. Cut twice as much as you think you will need. 


You then cover the edges of the mirror with painters tape. I did this project in the middle of the night and did not have enough tape so I did with out but at the end I was scrapping off all the modge podge that got on the mirror so if you have the tape use it!


Its a pretty easy craft all you do is apply some modge podge with your brush.


Line up pictures, place pictures over modge podge and then apply more modge podge!


And do it over and over again.


Any pieces that hang over the edge you can fold over and modge podge to the back or you can trim off. 


Once all covered apply a few more coats of modge podge to the entire project I did two more. This is the finished project! I think it turned out pretty sweet. Much better then a plain black mirror.


And a close up.


Time: ??? I am not sure how long it took from start to finish. I meant to time myself but it all depends on the size of the item you are covering. I do know I watched most of fight club while I did this and its about 2.5hrs long.

Learn from my mistakes/errors:
1. My mirror was a hanging from the door mirror so it has a top and a bottom. I ended up putting all the font on it upside down. It does not bother me much cus I was just going for look but if its going to drive you crazy make sure you are putting your picture on right side up before you start.
2. Use painters tape I spent some time cleaning the mirror up when I was done.

Have any questions, comments, or tips please feel free to leave them below.